Plugins | Unreal Engine | First Time Setup
Note: This article applies to both Prime 3 Haptic XR Gloves and Prime 3 Mocap Gloves
Note: This article applies to both Quantum Mocap Metagloves and Quantum XR Metagloves.
This document assumes unreal 5.0.x as baseline, but these steps are also applicable on 4.25 , 4.26 and 4.27.
Installing plugin
To add a plugin, you would need to add the downloaded plugin to Unreal’s Plugin folder.
So, navigate to Program Files > Epic Games > 5.0 > Engine > Plugins, and add the plugins folder there.

If there is no folder Create a new one and put the files in there. This will add the plugin to that version of the engine.
Now, launch a project in 5.0. Go to Edit> Plugins > " The plugin that you added" > and in that section make sure the Enabled check box is checked on."
Starting unreal with plugin

Connect

By default, there is no connection, and the localhost is pre-selected.
If you press this button it will try to connect and turn the host selection and refresh button into red arrows to indicate, they are not to be used.

Once connected to your MANUS Core host of choice, you can get runtime data of your gloves and more.
If you press it again, it disconnects from MANUS Core.
Quite a few functions are unavailable when disconnected.
Select host

When the plugin is not connected to MANUS Core, clicking this button will reveal a drop down menu of all detected MANUS Core instances at that time.

The currently selected option is marked with the green connect icon.
Refresh host list

When you want to refresh to detected hosts in the host selection combo box, you can press this button.
It will scan the network for any MANUS Core active at that time and update it in the host selection list.
Setting up a model to animate
Some of these steps, like importing a model, are detailed only lightly as they are explained better in Unreal specific tutorials.
Import model.

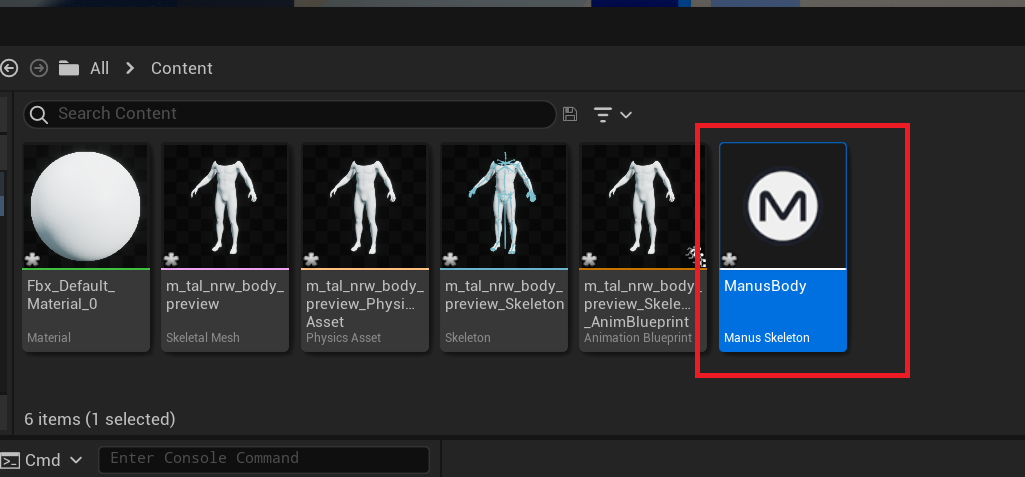
After importing your model, you will have something similar to the following in your content directory:

You now right click the skeleton mesh and create a new animation blueprint

Give the animation blueprint a nice name and double click it to open it.
You will be presented with a screen like this, but for your specific model.

In the output post widget drag the Result to the left and select the “Manus Live Link Pose”

From here select the “Manus Live Link Pose” widget and go to the properties on the right side.
There select the MANUS skeleton drop down box and create a new asset “Manus Skeleton” and give it a nice name. In this example “ManusBody” is used.

Once that is done you can select the type of animation you expect it to handle. For this example, its kept simple with just a “left hand” setting.

Don’t forget to compile the blueprint.
Once that is done, connect to core for the support options that are needed.
In the main screen press the connect button to connect to a local host instance of MANUS Core or select it from the dropdown box and then connect. Make sure MANUS Core is running.

Once that is done, double click your MANUS skeleton.
You will be presented with something like the following screen:

In this screen set the skeleton type to the type of animation you want from MANUS Core. In this case just a hand.
And also set the “Target Skeleton Type” to an identifier with which MANUS Core can identify the animation to a skeleton. In this case “UserIndexData” is a good option.
*The user index can be left to 0 in most cases. But if you have multiple users, make sure this matches what you see in the dashboard.

Now the mesh can be selected:

Select the mesh you imported, and it will generate the nodes needed.
All that is needed, are the chains to make it possible to animate.
You can set the chains up manually, but that can be very labor intensive. For this there are 2 more options.
Either using auto allocation if it is a fairly normal model. In such case MANUS Core tries to find the right bones and rig them up. If it fails, you can always try again with the second option. And that is to send it to the MANUS DevTool. Also known as the Development Dashboard.

By clicking that button the skeleton is sent to the tool for editing.
You will be presented with a screen like the one below:

For more specific details for this tool, check the supplied documentation of the MANUS DevTool.
For this example, the chains will be auto allocated, and we can immediately export it back to unreal.
You can hit the ‘Send to plugin’ button, which will send the model back to the unreal plugin.
On the unreal side in the MANUS skeleton property window, verify the IMU setting has been set for the hand if you’re not using trackers.

Do make sure the ‘Target Skeleton Type’ and assorted data is set correctly, or no data will transmitted.
Once this is done you can see the animation being streamed from your glove directly into unreal:
In this case only the left hand was connected.
Blueprint options
For this chapter it is assumed the user is familiar with blueprints in unreal. For more details on blueprints check the online tutorials for unreal blueprints on the Unreal forums.
Several commands are available in blueprint mode and many more types are defined
For the details on available blueprint functions, please consult the doxygen docs of BlueprintLibrary.h at
“./docs/html/_MANUS_blueprint_library_8h.html”